


Twenty Five Creative Ideas to Enhance Your Photographic Output: Part One
Let's look at one through five

Hi, and welcome to my little Substack corner. I write about photography, art, design, and the craft of living creatively. I am glad you are here. Consider subscribing to keep up with what I am doing. I promise not to bore you. If you would like to support my efforts, that would be amazing and so appreciated. Either way, I am super happy you are here.
This is part one of a five-part series on ideas that can be both fun and fruitful.
ONE: THE ONE-HOUR CHALLENGE
This lighting and composition challenge will get you thinking outside the box in a hurry.
First, you must decide on a subject, and I suggest this subject be something ordinary — like office supplies, or rutabagas (I must confess I am not sure what a rutabaga is, but if you do, make sure you get ordinary ones.)
Go to the Dollar Store and purchase a couple of whatchamacallits, or thingimabobs. In the past, I have shot sea shells, brightly colored clothespins, thumbtacks, and a bag of nails. This reminded me of my brother-in-law, but that is a different discussion.
Yes, the more mundane the objects, the better.
Once we have our subject(s), get the lights out and mount them on the stands. Test the lights and trigger and get ready to make photographs.
Set the clock to 1 hour, and begin your shoot.
The goal is to create cool, interesting, outside-the-box images of stuff we see all the time and present them in a way we are unfamiliar with.
“Show me something I haven’t seen before, or something I have seen but in a new, and different way.
We are going to use shadow, light, color, abstraction, focus, and composition. In short, we are going to be using every possible creative approach we can to make a couple of paper clips look interesting.
In an hour.
You must limit yourself to an hour because the closed-ended situation means you are going to be working against the clock, under pressure.
Being frustrated helps you get focused on what matters.
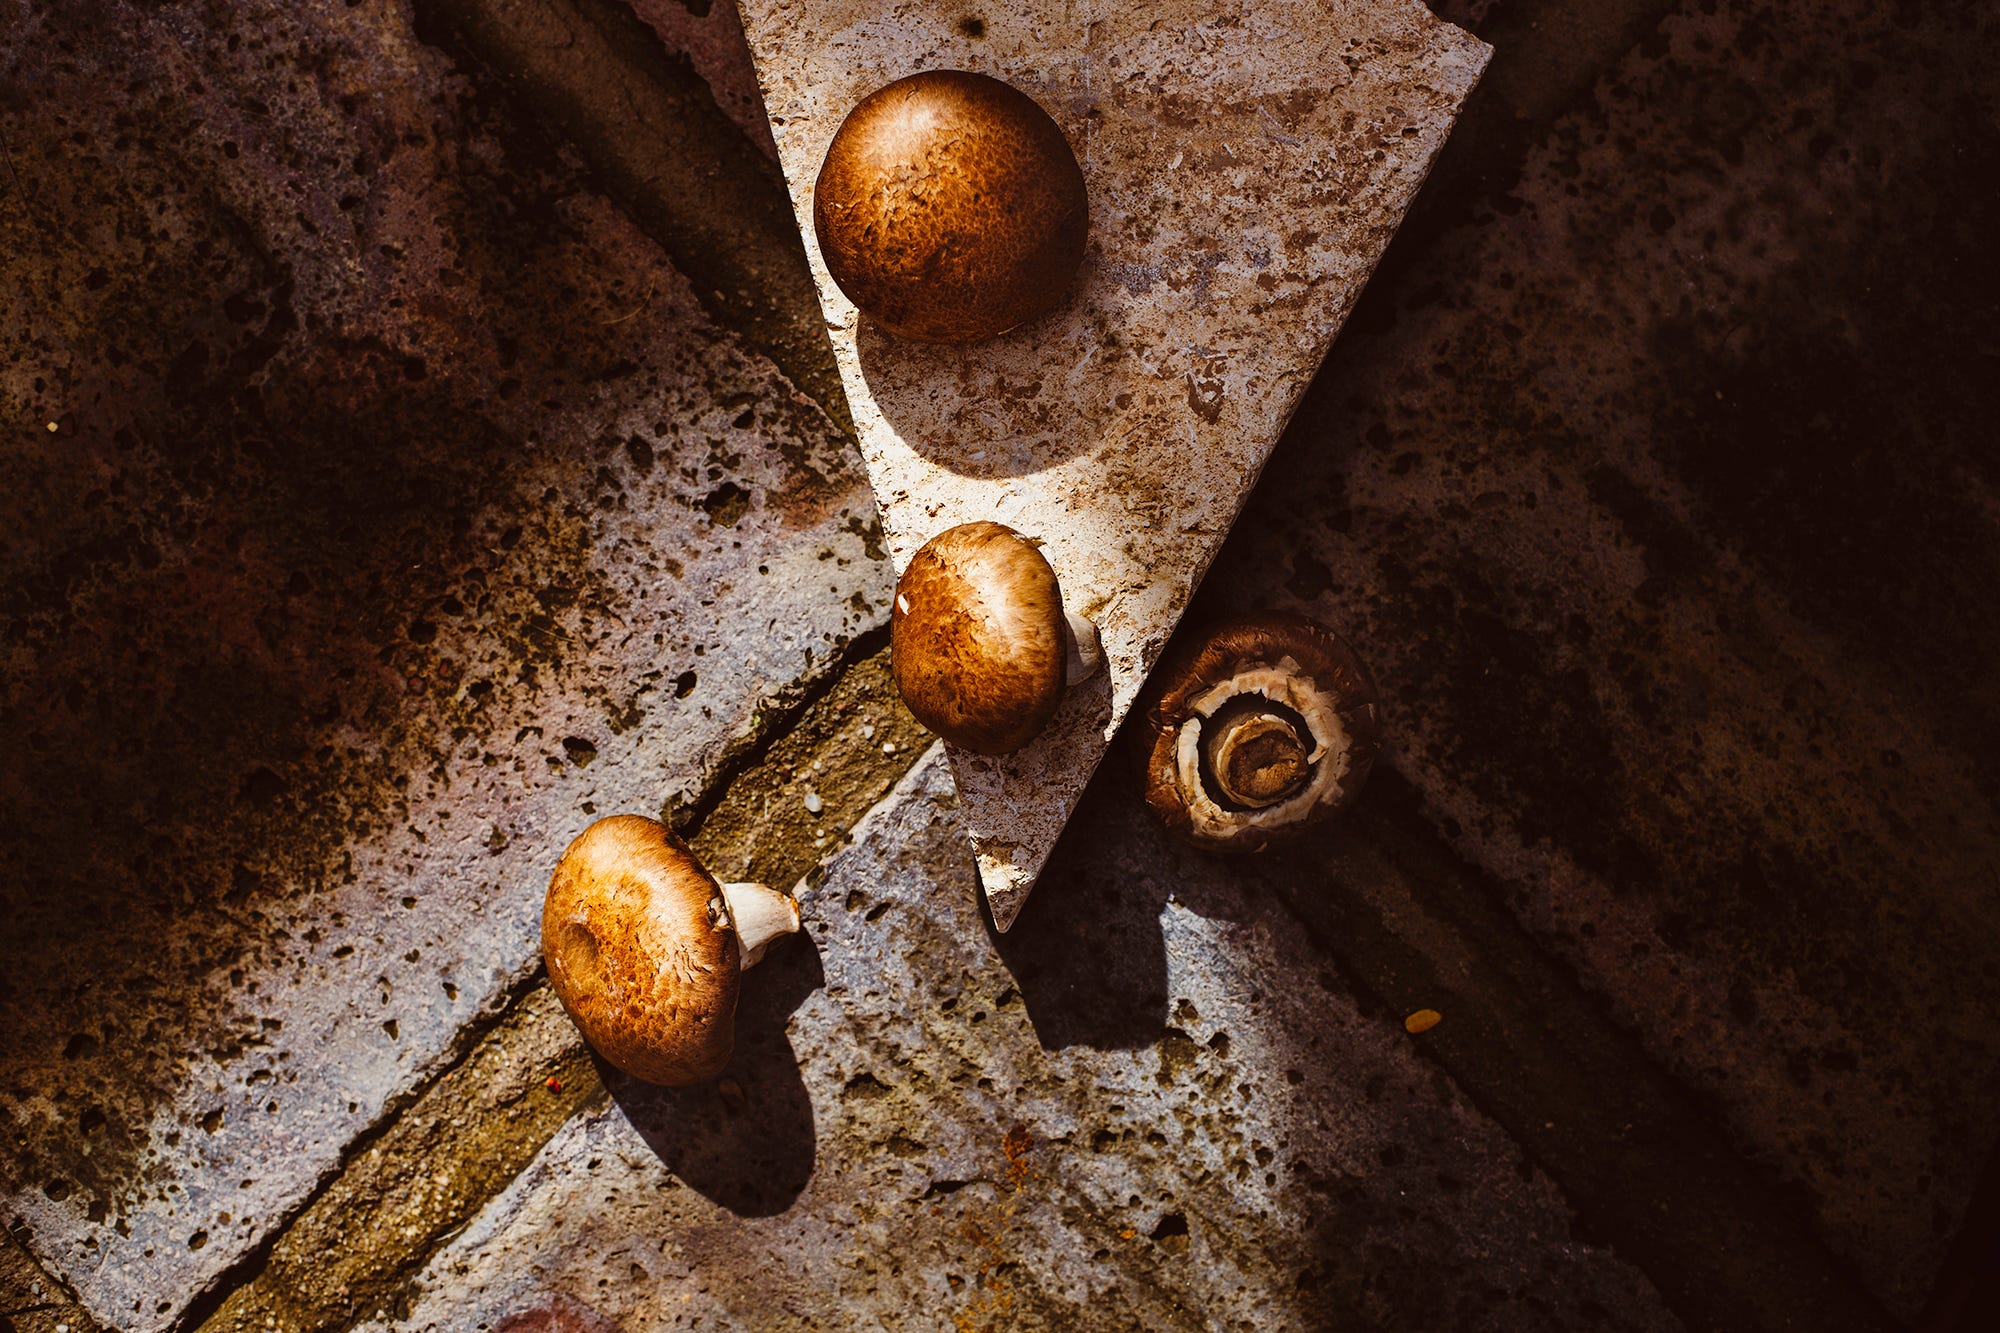
$2 worth of mushrooms, sunlight, and a strobe: 1 hour total, 14 different shots.


TWO: START PHOTOGRAPHING YOUR SETUPS
One of the fastest ways to become proficient while building a strong arsenal of lighting setups is to photograph them and keep them with your images.
Create a lighting notebook and print the finished image and the setup next to each other. This juxtaposition helps you create the connections between what you did and what you got.
Then you can come back to that setup and do it again and again.
And each time you change it up a little bit, you can see both the original setup and the modifications, along with the final image.
I can tell you from experience it works… and it saves you some time while you are building your lighting style and techniques.
It doesn’t have to be fancy, and you may not do it forever (although keeping a running journal of what you do, how you do it, why you did it, and who was there) can be an incredible tool for both learning and simply enjoying.
I wish now that I had saved all my old lighting ‘books’ — three-ring binders with 8×10’s and typewritten notes.
I do this digitally Milanote, Evernote, and a “curation folder” on my desktop.
Below is a side-by-side by Ligia Cuevas Johnson from the 8-week Food Portfolio Class I am currently teaching.


THREE: SHOOT AS IF YOU WERE SHOOTING FILM
Film came in rolls with a limited amount of frames.
The rolls were 24 and 36 exposures for 35mm film, and 12 and 24 for 120mm (medium format).
So if you only had one roll of film, you could only take 24 or 36 images depending on what film you have in the camera.
Similar to the first exercise, this is a ‘limited’ challenge. The fact of a limited amount of time or a limited amount of frames can be both frustrating and liberating at the same time.
It forces the mind to be sharper, clearer, and more focused. It helps you see through the viewfinder with a clearer purpose because it will compel you to check and double-check your composition, DoF, focus, and overall general technical aspects before you push the shutter.
And that is where the magic happens… the exercising of the “vision” muscle as you focus tightly on making sure the image you want IS the image you get.
Take a photo break and set aside two hours of the morning or afternoon and visit a place you really want to photograph. If you have a model you have been wanting to shoot, this will work as well.
You can take as long as you want to set up the shots or find the angles, but you only have 24 images, and you must complete this within two hours. (After the exercise, shoot all the digital frames you want — but for two hours you focus on the image with intensity and deliberate action as you can only make 24 images.)
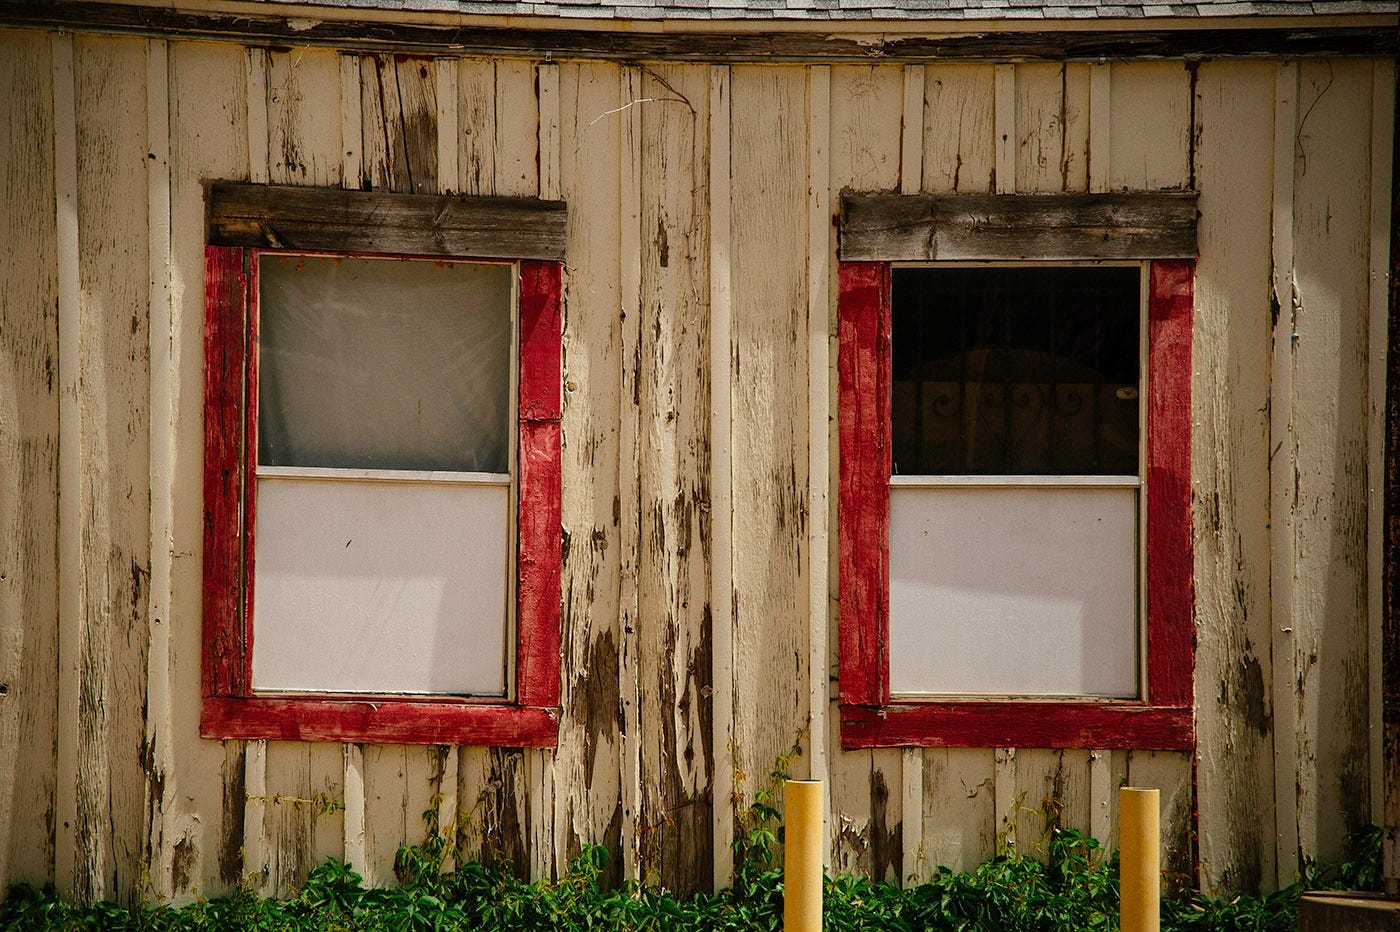
Here are two examples of this exercise. Both done within an hour and include a couple of second shots as I would also do with film.


FOUR: PORTRAITS OF TEN STRANGERS IN ONE DAY
Photographing strangers can be very unnerving for a lot of us.
It is not in our comfort zone; in fact, it is miles from many of our comfort zones.
And that is exactly why we should do it—because it scares us.
(I believe the most important thing to do is what scares us the most. Fear is resistance, and resistance can crush our creativity.)
In P52 photographing a stranger is the first assignment we give... You know, get the hard stuff done first. Eat the frog.
And we have all heard of the “one stranger a day” portrait thing. That is a great exercise as well.
But in this situation, we are going to confront and win over our fear concerns and see how much we improve in a shorter amount of time.
One day.
Ten portraits.
And there are rules (there are always rules, sorry).
You must engage the subject, and they must be engaged with you. This is not street photography, where you take photos of people who do not know you are photographing them. They must be actively involved in the portrait.
You move them a little bit to get the shot YOU want. This will test your ability to work fast, and also to have an idea that can inspire your subject to cooperate.
Take no more than 10 exposures and thank them.
Make sure you send them a copy of the portrait (get email address).
So we find someone, ask them if it is OK to make a portrait, ask to move them ‘over here’ or outside, take the photos quickly, get their name and email, and send them an image.
Got it?
Two portraits of strangers.


FIVE: LEARN TO COLOR GRADE YOUR IMAGES
Color grading is usually thought of for motion pictures, but it is rapidly being adopted by photographers as well.
What is color grading? Think “Matrix” with warm, almost orange highlights and blue shadows for a simple explanation.
But it can be so much more than that. Changing up the color palette in your image may give it a different mood, and a different feeling.
There are many ways to color grade.
Photographers use a wide range of tools, including curves, color balance, selective color, gradient maps, and Luts.
When working with all the different ways we can blend layers and mix the different methods... there are literally billions of possibilities.
When you are starting out, they can be quite garish. But the more we do, the more we start to dial them down. It takes finesse and a gentle hand in most cases, but the images can begin to take on a more cinematic and interesting patina.
And when you find something you like, convert it into an action, or a preset, and keep it for making sure you can maintain consistency with your color palette.
Some photographers who use color grading to create a different feel for their images:
Finn Beales
Chris Crisman
Joel Grimes
While all of them do color grading, they do not use the same techniques.
There are many different things you can try to achieve a special color palette for your images.
This image has not been color-graded. I exported it out of Lightroom after applying contrast and sharpness.
I then applied four different color grades that I liked. They all appeal to me, but there is certainly a different mood brought out by each.


I will be back with the next five soon.
Let me know if you try any of these, and what your experience is with them.
NOTE: I use RNI film presets, and DXO’s NIK quite a bit of the time. They help me keep consistency in my projects. I also use and create lots of Luts.
Which of these five is your favorite?

When you are ready, here is how I can help you succeed.
Group Mentorship: a small group of photographers who meet to show images, work on their portfolio, and build their businesses with help from a wonderful group. Lifetime membership for one fee.
One-on-one Mentorship: You and me - working together in an intense 6-month push to get you on the way to over $30K in additional revenue. The work we lay down will help you increase and scale your business for years ahead.
Coming in 2025, a One-on-One, 6-week plan to get your marketing system in place. You will see results immediately, and by results, I mean assigned work that pays you. More coming.
Seen and Noted

Pre-order pricing is available. Limited Edition, signed and numbered, matted print included.
Love the Mushroom Idea!! Weekend Project I think :)
Excellent ideas!